When you lift a drone in the sky, especially in the first moments of the take-off phase, do you notice that the aircraft tends to veer to the left or the right, having difficulty in stabilizing itself?
So, you’re asking, why does my drone fly sideways? Well, this is attributable to weather conditions (for example, if there is wind) or mechanical conditions. Damaged essential parts such as the propellers can cause a quadcopter pull to one side. However, other problems can be due to the wrong settings or calibration of the drone. When not corrected, a drone tilting sideways can end up crashing and getting damaged.
While the higher-end models are equipped with a GPS stabilization system (which therefore guarantees automatic balancing), in the lower-middle-range ones, it is the pilots who must stabilize the drone, by using some buttons called the “Trims.” This is not an exclusive functionality of drones, but it is commonly found in all aircraft (airplanes, helicopters) and means of transport in general.
In this tutorial, we will see how to troubleshoot a drone that is going sideways. We will list some of the common problems and their solutions.
What Is Drone Trimming?
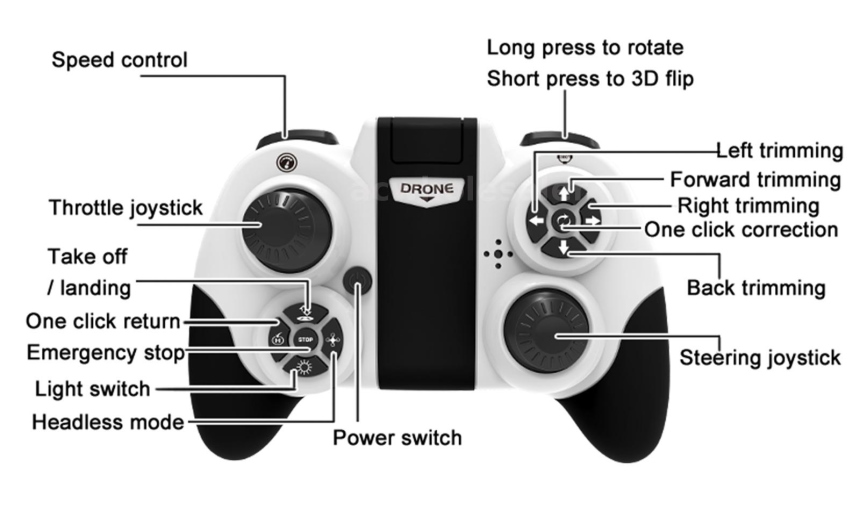
If the drone moves, the drones have a function on the remote controls, called “Trim”, which is used to fine-tune the flight of the drone.
Normally, all drones have buttons to fix that bug. They are commonly known as “trim” buttons or “trim” buttons. The trim allows you to correct the course in real-time without the pilot having to always use the controller knobs. The arrangement of the trim buttons is very similar in all models. However, it is advisable to always read the instruction manual to get a more precise picture. But here’s how they are generally indicated in controllers:
Their operation is quite simple, although, of course, it is necessary to train a little to acquire the necessary familiarity. If, for example, the aircraft tends to move to the right, you have to use the right trim (which adjusts the direction) and move it in the opposite direction (i.e., to the left).
The Fundamental Settings to Be Made
Before explaining what to do in case the drone does not stabilize, let’s quickly see what some of the fundamental settings to be made are:
Pitch
It allows you to tilt the drone forward or backward around the transverse axis, i.e., to make it move forward or backward. The control unit increases the rotation speed of the rear motors (to make it move forward) or front motors (to reverse).
Roll
This tilts the aircraft left or right around the longitudinal axis, following the same principle as pitch. It increases or decreases the engine revolutions to one side or the other. Pushing the right stick to the right will cause the aircraft to lower the right side and raise the left, generating a rightward movement.
YAW
Yaw makes the drone rotate on itself on the vertical axis. By pushing the Yaw stick to the right, the drone will rotate clockwise to the right and vice versa (left/counterclockwise).
When you begin to raise the drone, the goal is to keep it firmly in the air, that is in “hovering” (or fixed-point flight).
In Summary
The button on the left is used in case the drone turns on by itself. The button in the center is used when the drone is going forward or backward without you telling it to. And the rightmost trim button is used when the drone goes sideways to the right or left.
For example, if the drone tends to go to the left, what you will do is use the third trim button and click to the right. It will be necessary to do this several times. The drone will gradually stop going so far to the left and will start to fly stable.
Problems Associated with Drone Components
Bad propellers, poor bearing, vibrating motors, and more can cause drifting problems. Some of these are:
Problem with the Bearing
If you have a drone that’s been behaving perfectly and then it starts tilting to one side and all of the other things appear fine, you should check whether or not the bearings are okay. In addition to increased noise, some poor bearings can cause vibrations which are enough to tilt the drone.
Solution
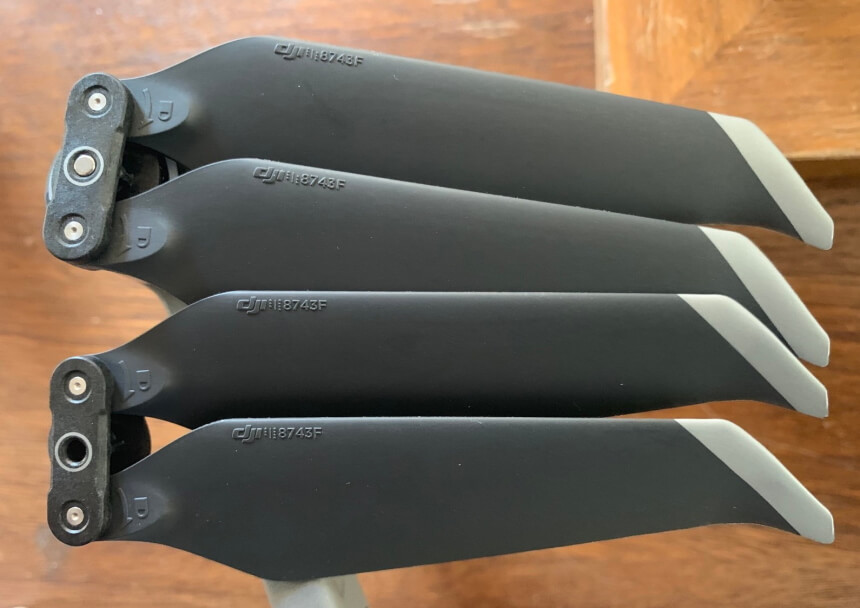
In addition, make sure that all of the balancings with the tilt are okay as well.
Gravity Problems
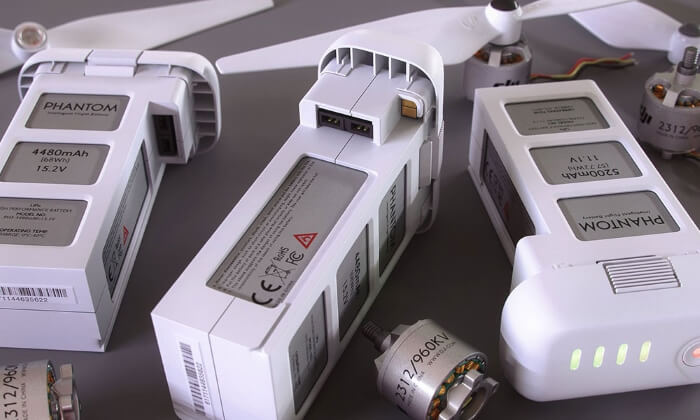
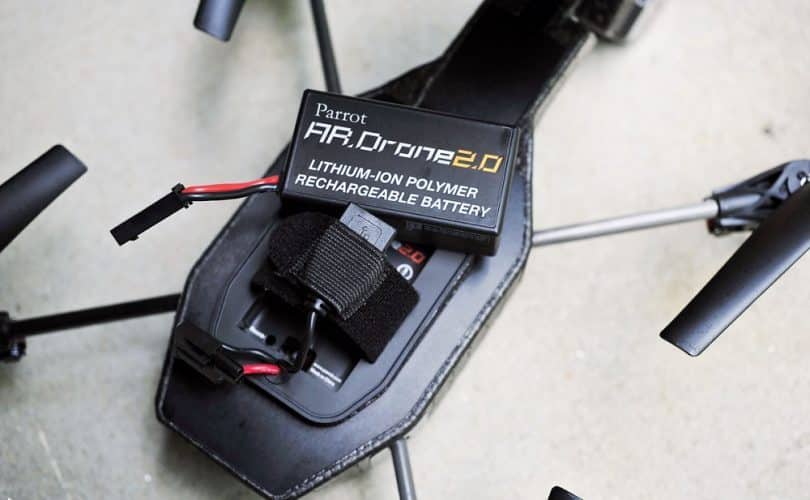
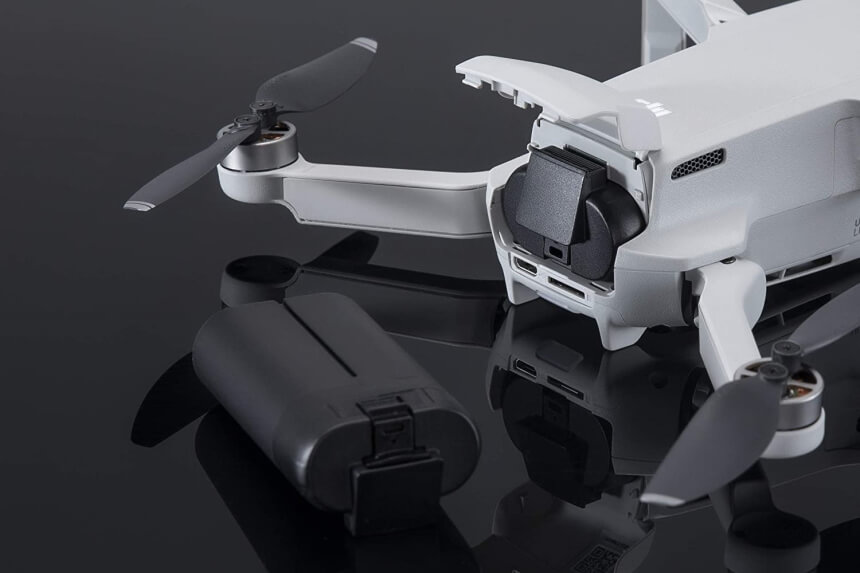
Another thing to check of course is to make sure the internal components, especially the heavier parts such as the batteries are balanced. If the drone is heavier on one side, the drone may tilt to one side.
Solution
Problems Associated with the Setting and Environment
All drones, especially the light ones, will tend to be pushed around by the breeze and the wind a little bit. And unless you’re using something like a GPS supported mode, then unfortunately they won’t sit in the air still. They will gently drift around.
Problem with the Accelerometer
Occasionally, you’ll find that when you put a drone up in the air, you are having to compensate for a distinct pull in one direction or the other. The first thing you should check is to make sure the accelerometers are calibrated for level. This is a step that isn’t mandatory when you’re setting up and because of that a lot of new pilots skip it because it looks right on the screen. However, all drones – whether you have a stunt drone or a roof inspection drone – must be calibrated occasionally.
Solution
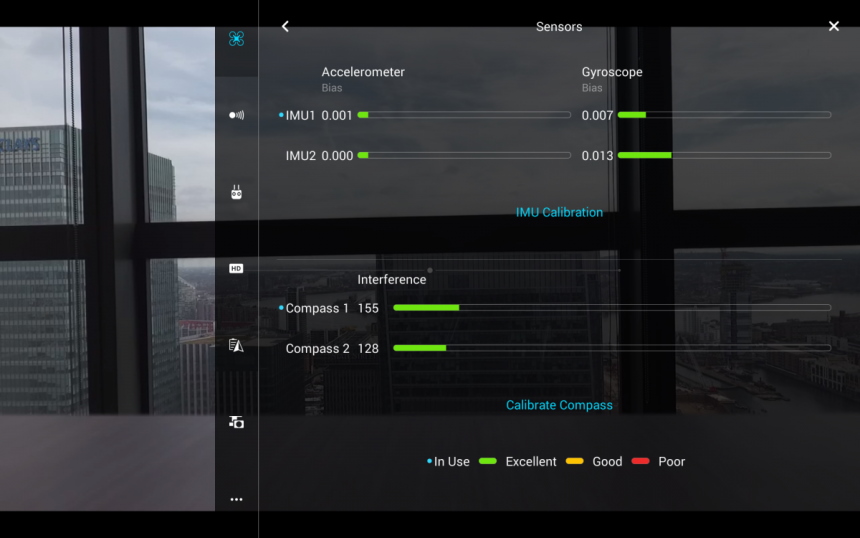
However, you can easily calibrate advanced models such as the DJI Mini 2 Drone from the app and following the instructions on the screen.
What you’re doing in that step is you’re teaching the quadcopter what the right level feels like and that is the attitude that the board will always try and get back to. So if it isn’t perfectly calibrated then when the multi-rotor thinks it’s level, it might be tilted slightly to one side. The other side may be slightly forward or slightly backwards and that causes the drone drifting to one side.
So the first thing to do is go to the graphical user interface, but the multirotor on a completely flat surface. Leave it alone. Step back. And then click on the Calibrate Accelerometer button.
Note that you should calibrate your drone if you find an error message or you’d be flying in a new location Trusted Source How to Calibrate a drone? - Fly Robotics Before piloting your drone outside for the first time, you must calibrate the drone’s compass. Calibration is also needed if your drone has been flying inconsistently or not flying like it usually does. Many experts believe that a drone needs calibrating each time that it operates, especially if it will… www.fly-robotics.com .
Problem with Channel Setting
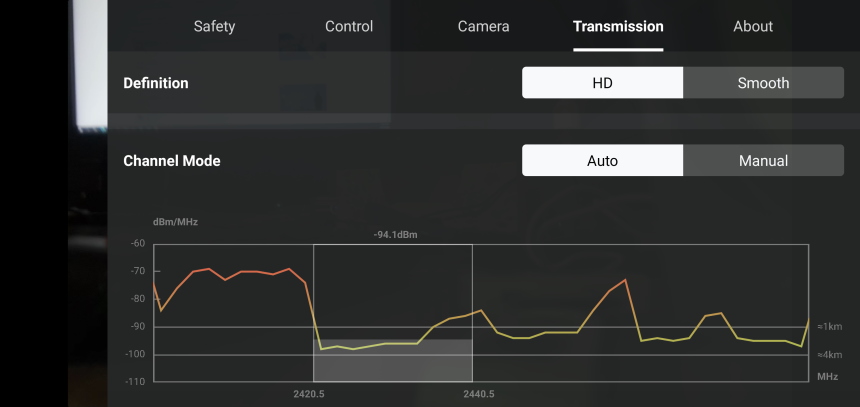
You could also be having problems with the settings of your channel. The next thing to check is to make sure that all the mid positions of the three channels (Roll, Pitch, and Yaw) settle at 1500. The way it works in a normal channel of a remote-controlled vehicle is that it goes from 1000 to 2,000, with 1500 being the middle position.
Solution
Drone Not Initialized After It’s Powered On
Some new fliers are often fond of flying the drone immediately after the battery is inserted and the drone is powered on. This can cause the drone to have poor flight performance.
Solution
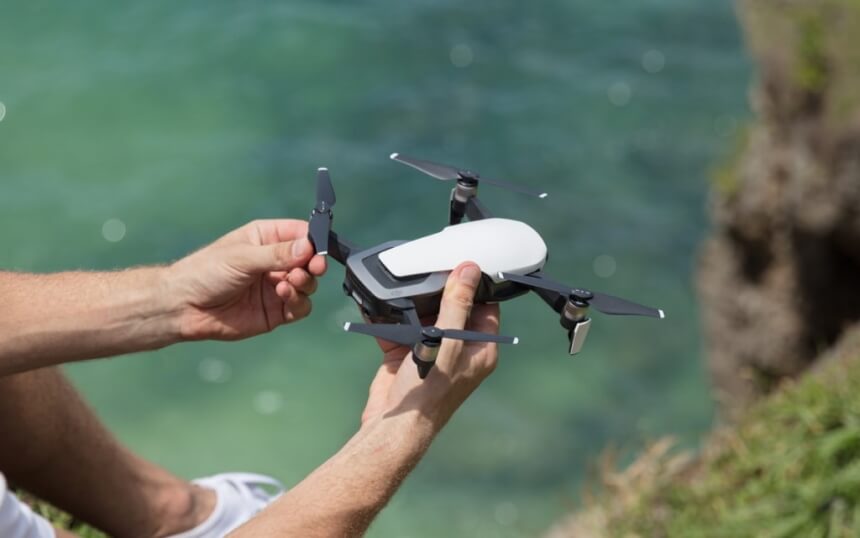
If suddenly, the drone takes off sideways, land it and double-check that all the trims on the radio are in the center position. It’s very easy to knock the trims as you’re moving around.
How to Fly the Drone Properly
Let’s see, therefore, the steps to follow to fly the drone properly:
- Turn on the remote control and connect the battery.
- Always position yourself behind the drone: It will be easier to manage the controls this way. When you position yourself in front, remember that you will have to use them in reverse.
- Gently control it: When the drone starts to lift, you will see that it will be extremely unstable. This is nothing unusual. In reverse. It is called the “ground effect” and is due to the vortex of air generated by the movement of the propellers which when “banging” on the ground causes oscillatory movements. This effect tends to disappear when it reaches a height of one meter. The challenge of each pilot is to be able to keep the aircraft at a constant altitude. This is why it is essential to avoid sudden movements when starting the accelerator during take-off.
- Check that it is in a stable position: Once the drone has reached about one meter in height with light vertical movements of the stick, make sure it is firmly suspended in the same hovering position. If this does not happen, find the most correct position using the trims to stabilize it.
- If the drone turns or swings forward or backward (pitch), press the trim button to the left of the right stick of the remote controller a couple of times up or down until you notice stabilization. If, on the other hand, it moves too far to the right or left (roll), gently press the trim button under the left or right stick on the remote control, and wait for the drone to stop skidding in one direction or the other.
Final Thoughts
Before asking why does my drone fly sideways, you have to know that this is a common problem with cheap drones. This can happen for many reasons. It could be that the drone is not properly calibrated from the factory, or some components have worn out. There may have been some crashes and you misadjusted some components.


